Established readers and writers (Elementary Grades)
Teaching Cursive
Established readers and writers (Elementary Grades)
Organize Materials
Magnetic white board and dry erase pens
Paper and pens (pencils for the very young)
Magnetic letters
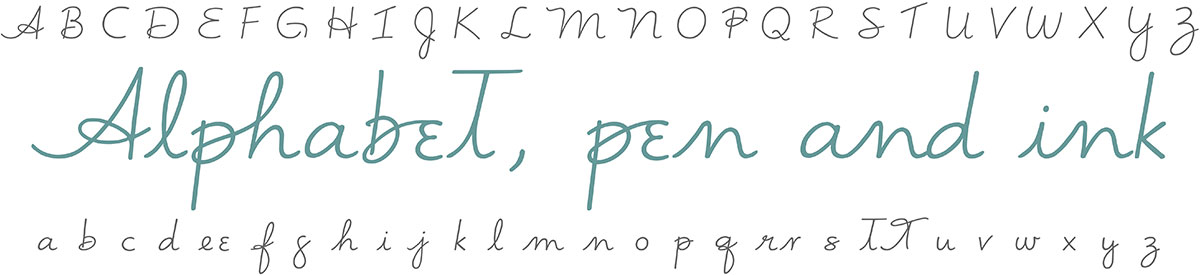
The Guidebook –Alphabet, pen and ink– (and / or printouts of the Vimala Alphabet™)
Alpha-Phonics word lists (written out or printed with the Vimala Alphabet™)
Bob books, StarFall readers, Meet the Sight Words easy reader series
(or other early readers)
An appropriate writing surface, desk or table
Patience, patience patience!!
Humor, smiles, encouragement, praise and love
The fundamental basics of handwriting for children who already read and write
Transitioning from print (manuscript) writing to cursive is a very exciting time for a child. One way to begin is by seeing how their “autograph” looks in cursive. Begin by presenting a printout of the Vimala Alphabet™, and then write out their first name using these letters. Next, review paper positioning, pen grip, and margins. The goal is to write without guidelines, using blank paper, however, you must decide when your child is ready for this step.
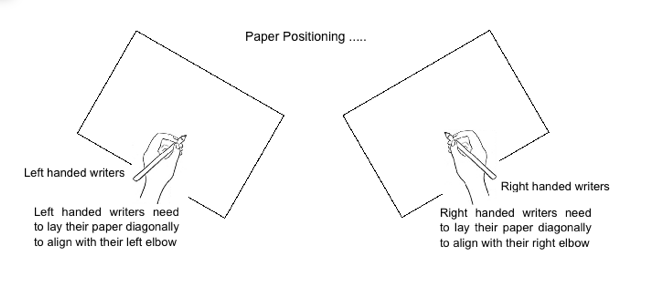
Paper Positioning
Getting started
Make practice time relaxing and fun. Play instrumental music during practice. Mozart or any classical music. You may want to try some of the New Age relaxation music offered by such artists as Stephen Halpern.
Have pen / pencils, paper (unlined), and a clean writing area organized before starting any writing practice. Paper position is most important. This is especially true for left-handed children. Make sure the paper is aligned with their dominant writing hand’s elbow. (See illustration above) During the time allotted to writing, write along with your child / children.
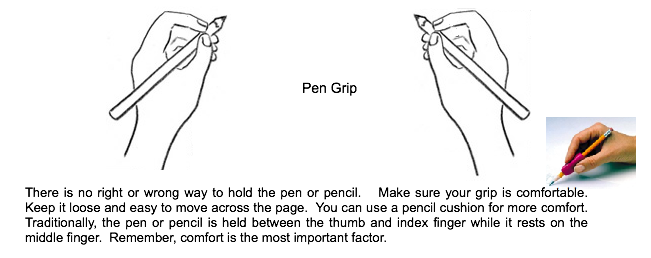
Pen Grip
The Guidebook offers an established handwriting practice. The Handbook offers supplemental ideas and declarations for the letters. Establishing a regular daily practice is most important. The length of time needs to be routine, fifteen to twenty minutes daily, every day (at least weekdays). Consistency is the key! Maintaining a consistent practice is essential.
Begin with the first initial of your child’s name. Explain how each person’s “signature” is unique, and is really an “autograph” or a visual symbol like a photograph. The word autograph implies a meaning of ‘self-portrait.‘ With paper in position (see the graphic above) and the pen resting gently on the middle finger, gripped between the thumb and first finger (pointer finger) so there is about a 3/4 to 1-inch space from the tip of the first finger to the pen tip, have your child inscribe her first initial, uppercase. Next, have her write her full name.
One of the most important elements in handwriting is to always end to the right. In our English language we read and write from the lefthand side of the page to the righthand side. Explain how it’s helpful to keep the pen (pencil) moving forward at the end of a letter or a word.
You may want to introduce the letters by family as outlined in the Guidebook, or you may prefer to use the order Blumenfeld outlines in his book, How To Tutor (referenced in the section for beginning writers). This will reinforce reading phonics skills as well. Whatever order of presentation you choose, make it light and fun. Praise, patience and appreciation for the child’s efforts go a long way in making this an enjoyable exercise. Also, share the joy of writing by writing with your child!
There are declarations for each of the letters listed in the free coloring book offered on our ‘Student guides’ page as well as sample practice sentences on each of the pages. These are useful for further writing practice even without the coloring option.
The animals featured in the Guidebook and the Colorbook.pdf reflect the groundbreaking work and unique vision of Vimala Rodgers, author, teacher and architect of the Vimala Handwriting System™ (aka Vimala Alphabet™) She has fathomed qualities for each letter in her alphabetical research, teaching students of all ages from around the world as well as through her books the hidden, obscure and profound mysteries of the letters. Each letter has an animal ‘friend’ symbolizing a certain ‘aspect’ that personifies it.
Use the “personality profiles” of each letter to add interest. Discuss why an animal might represent each individual letter. Draw the letters in the air with your hand. Draw them in the air again with your whole arm. Writing is a visceral process, help your child ‘feel’ the letters as you write together. It is strongly recommended that you practice handwriting — just ten to fifteen minutes a day — with your child.